
I created my first Deep Learning Model to generate Text using LSTM. The basic model ran for a few hours on my macOS Sierra (10.12.6). Let’s put it this way – the results were not so satisfactory. So, I became ambitious and thought of running a model with lots of layers – a deep and wider model. It turned out that was really me being over-ambitious. Initially, it displayed an ETA of 60 hours. I let it run for 2 days and 2 nights. Then, the next morning, I woke up and checked my kernel was dead!
After that heart-breaking incident, I asked myself:
How do I build an enormous deep learning model without waiting for results for days?
The answer was expensive! So, I asked the next question.
How do I build a large deep learning model without burning a hole in my pocket?
Thanks to Google, the answer is GoogleColab!
It’s an online browser-based platform that allows us to train our big and complex machine learning models for free without any hassle! On top of that, it allows running Jupyter Notebooks! So, to sum up, Collaboratory, or “Colab” is fabulous because:
Colab allows us to write and execute Python in our browser, with
- Zero configuration required
- Free access to GPUs
- Easy sharing
Sounds too good to be true, right?
It took me a few minutes to run the basic model which actually ran for hours in my local machine. I am so excited! That brings me to my next post which is as below:
How to run a Jupyter Notebook on Google Colab?
Step1: Open Google Colab
Open Google Colab using this link. Now, we have a lot of options here:
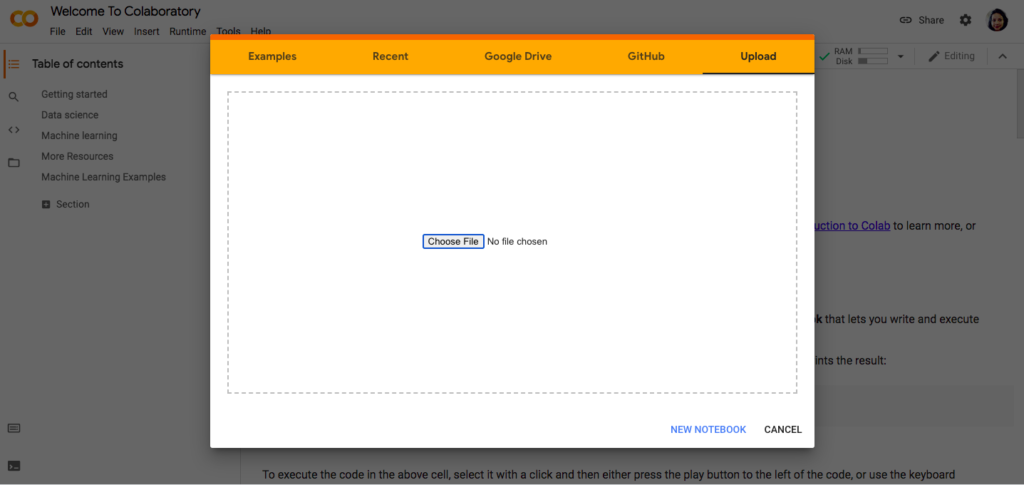
- Upload the Notebook from my local machine
2. Connect to Github and open a Notebook
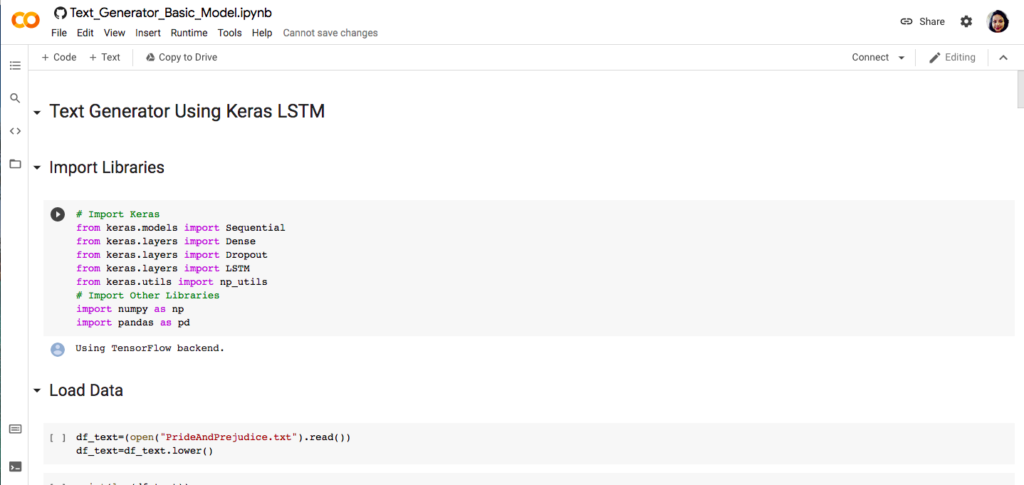
I uploaded my basic model notebook from my Github.

3. Open a Notebook from Google Drive
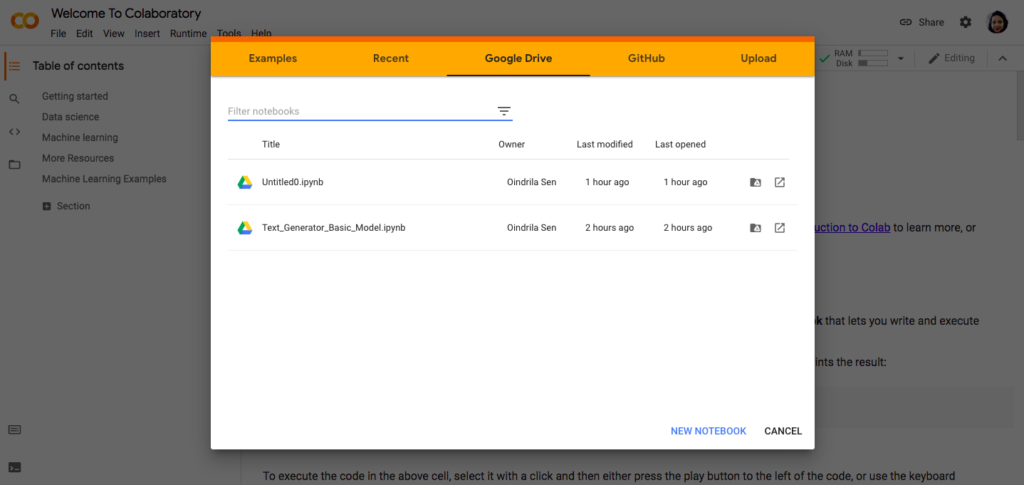
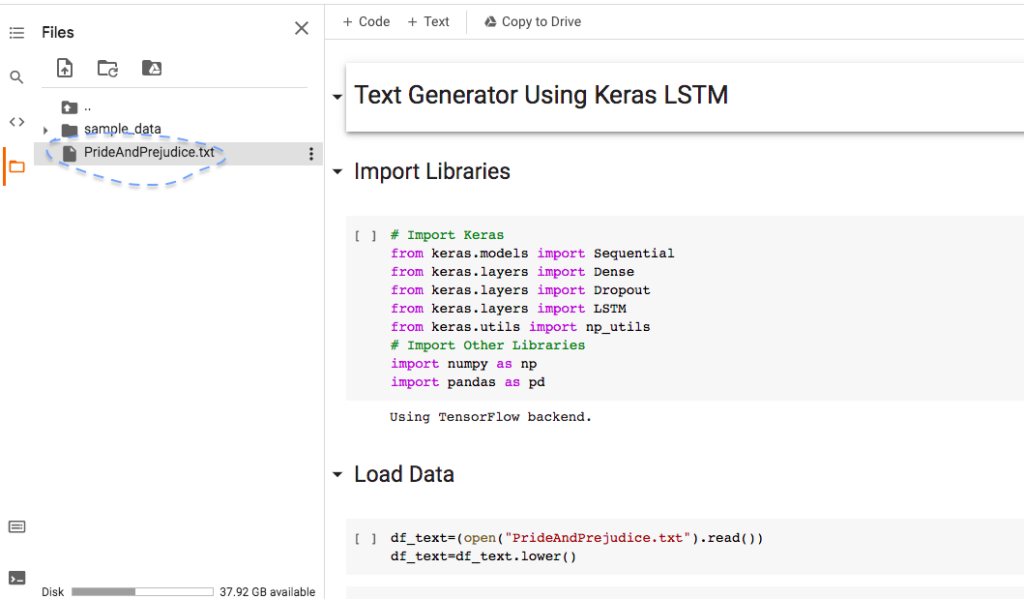
Now, once the Notebook is uploaded, it opened in a similar interface as Jupyter Notebook like below:
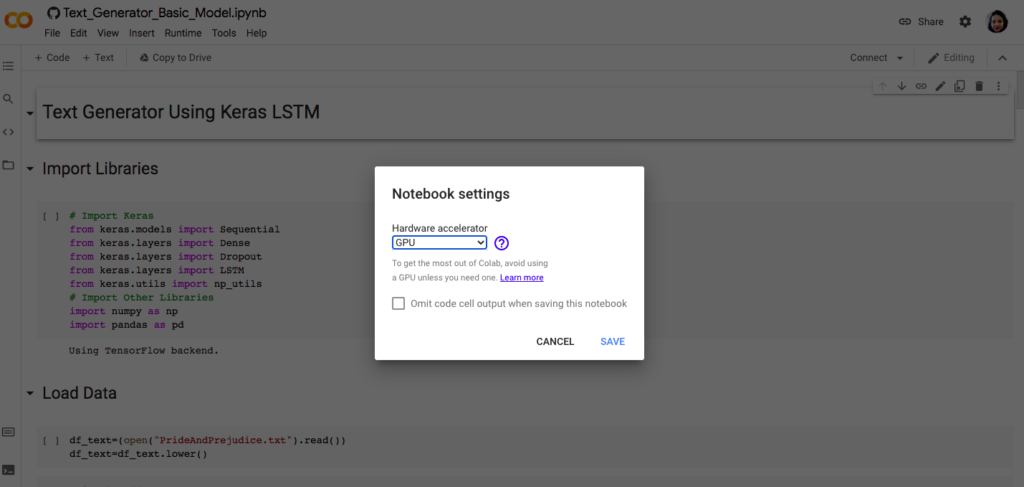
Step2 : Choosing GPU/ TPU on Google Colab
By default, Colab notebooks run on CPU. We can switch our notebook to run with GPU Or TPU. I had to actually google to understand what is the difference between TPU and GPU and which one to choose. Well, my understanding is as below:
| CPU | GPU | TPU |
|---|---|---|
| Central Processing Unit | Graphical Processing Unit | Tensor Processing Unit |
| Used for General purpose programming problem | Used for machine learning model training, general programming problem, and also programming problem with parallelization scope. | Used for Tensor Flow model training and inference |
| Manufacturers: Intel, AMD, Qualcomm, NVIDIA, IBM, etc. | Manufacturers: NVIDIA, AMD, Broadcom Ltd., etc. | Manufacturers: |
So, my basic thumb rule is that for a little more complex problem like any Deep Learning problem, I will choose GPU. Now, let me show how to choose GPU for running a notebook.
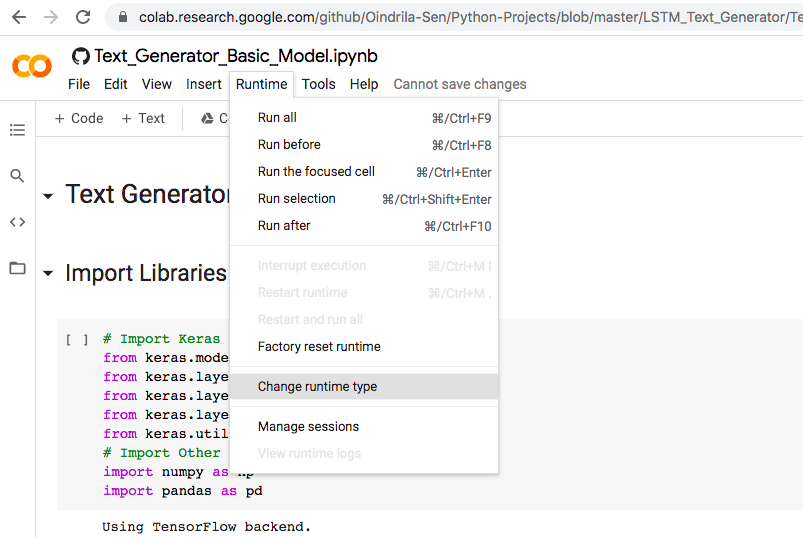
Navigation is as below:
Runtime -> Change runtime type -> Hardware accelator -> GPU -> Save
Once it is connected, we need to add the Datafile.
Step3 : Upload a Datafile
Now, to run a Model, we need Data. While running a Jupyter Notebook on my local MacOSx, I used the data file stored in my local directory. But, to train the model at Google Colab, we need to load the data. There must be a couple of options to load data. But here, I am mentioning the one I used and worked out well for me.
Steps to Upload a data file:
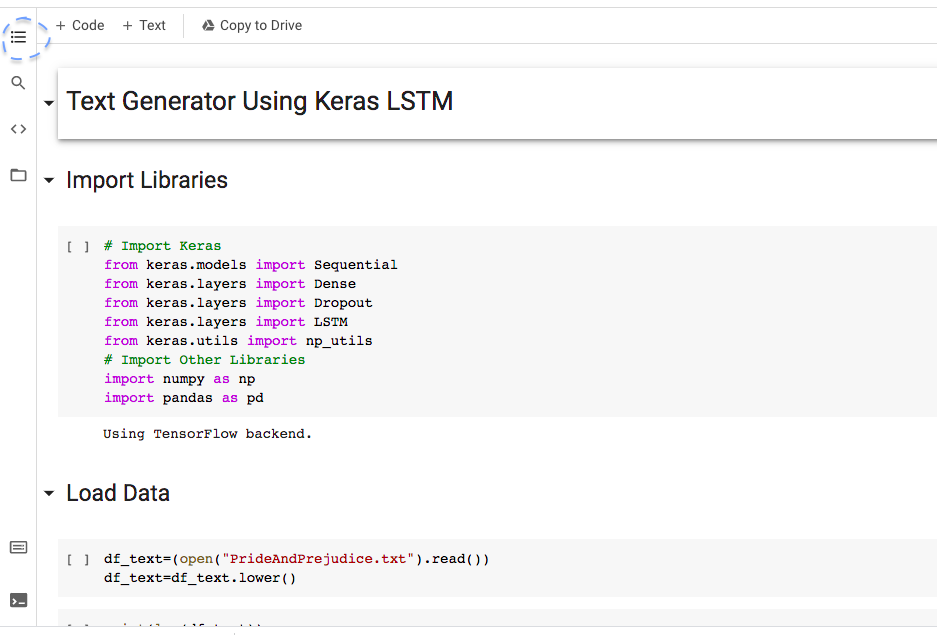
- Click on the “Table of Contents” on the Left and top most part of the notebook.
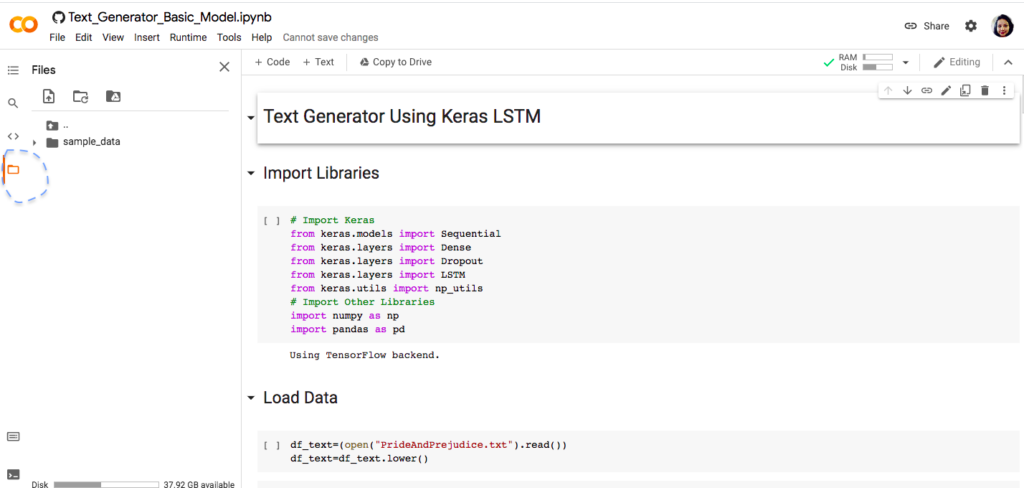
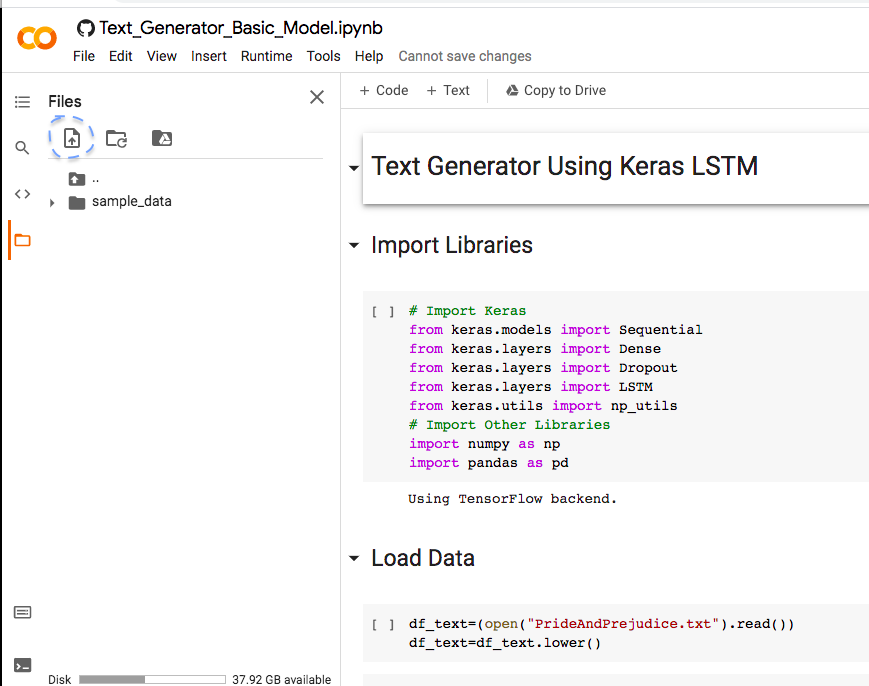
2. Click on the folder/files icon. Okay, the above step is redundant, right? So, click on the Files icon.
Then click on the Upload icon and upload the data file from your local directory.
Once the file is uploaded, it will display a note/message like below.
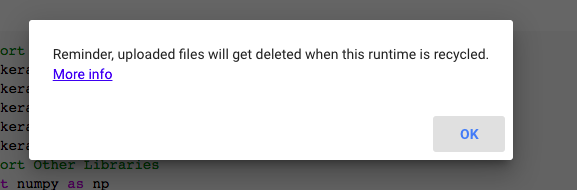
Click “OK” and you will see your Data File on the left hand side pane.
That’s it! Now, we are all set to run the Jupyter Notebook.
Step 4: Train the Deep Learning Model
Now, we are all set to train the Deep Learning Model in a few minutes. While running a cell, it will display a warning message like below:
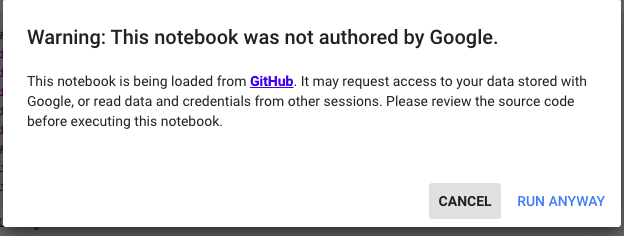
Click “Run Anyway” if you are confident with your coding!
For the basic Deep Learning Model, it took 3 minutes and I got the output. Amazing right?
Step 5: Save the Notebook
All the notebooks on Colab are automatically stored on your Google Drive. Also, a copy of the notebook can be saved on Github or as a gist.

Conclusion:
Working with Google Colab is easy. It makes training a deep learning model possible. Above all, it is free! It also allows sharing the notebook. Try your hand on Google Colab and you will not regret it.
4