In my previous post, I created a Twitter Sentiment Analysis Application and worked on deploying the app. Honestly, it was my first machine learning model deployment and it was a good start.
But, something was missing!
It lacked accessibility to people. Do you know what I mean? Everyone doesn’t need to know about Machine Learning Models and Flask and HTML. An application/app should be something that people can open and use and not worry about its complexity. Right?
So, I was basically looking for a platform and today I am going to try Heroku.
Well, what I found out is that before deploying on Heroku, we need to spend some time on the setup part. Oh well, I did! Even if I deployed the code, there was an “Application Error” and the app was not running.
So, this post is all about setting up and starting Heroku app.
Let the fun begin […drumroll…]
What is Heroku?
Heroku is a platform to deploy a web application. Let’s start right here.
Signup
To use Heroku, we need to signup first. Here is the link. Please fill in the required fields and create a free account.
Then click on “Create New App” which leads to the below page.
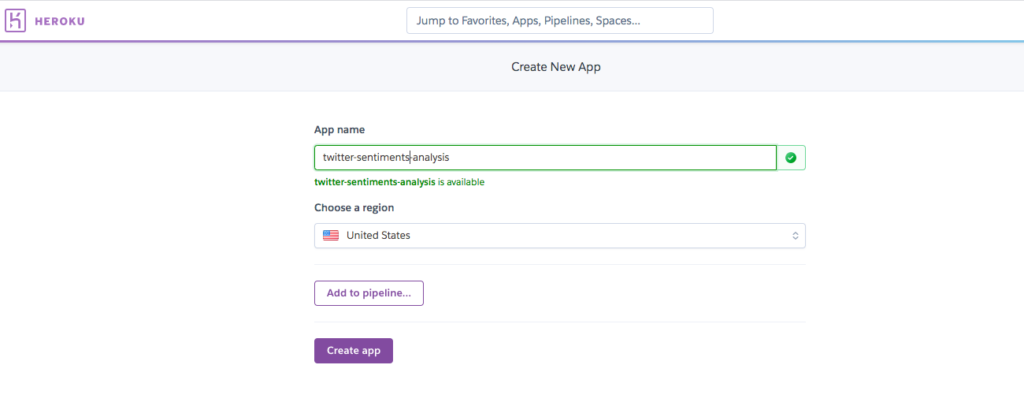
We will enter an APP name that is available and hence accepted and then just click on “Create App“.
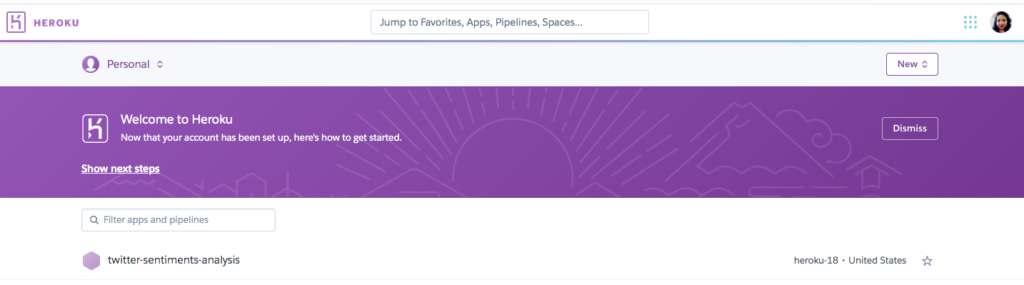
Once the App is created, you will be at the “Deploy” section of the app.
If you go back later for the next steps, check your dashboard, you can see the app just created above. Click on the name to follow the next set of instructions.
Installation
We need to go to the deploy tab for the next steps of installation and follow the steps in the “Deployment method” Section. For this post, we will use the “Heroku Git” Deployment method.
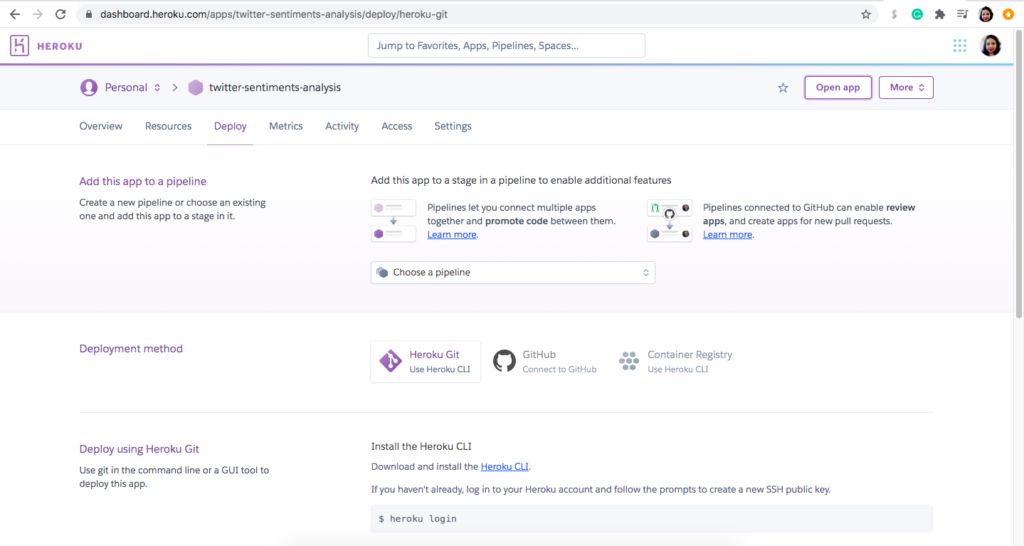
Download and install the Heroku CLI.
Here is the link for the same.
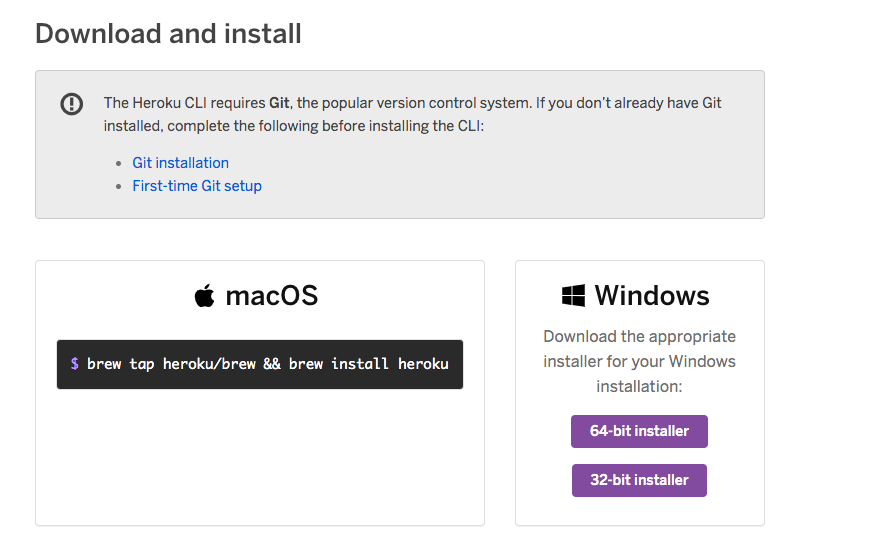
Since I work on my MacOS, I have installed heroku using the below command.
brew tap heroku/brew && brew install herokuCheck the version of your heroku installed with the below command.
heroku --versionI have installed version 7.47.3.
Deploy using Heroku Git
Let’s follow the steps exactly as mentioned in the deployment section:
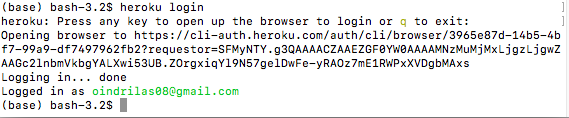
$ heroku loginIt will ask to hit any key to open Heroku in a Browser. Just hit a key and enter your login information in the page opened in the browser and come back to Terminal.
Create SSH keys
Now, it is supposed to offer to create an SSH key and also upload the key to your Heroku account. But somehow it did not happen for me. So, I checked my account and the SSH keys were not generated.

If the keys are not generated, you will have to create it manually as I did and then add it to your account.
mkdir ~/.ssh
ssh-keygen -t rsa
Just press enter and do not change any information and you will see you keys are generated.
Add in the keys using the below command:
heroku keys:add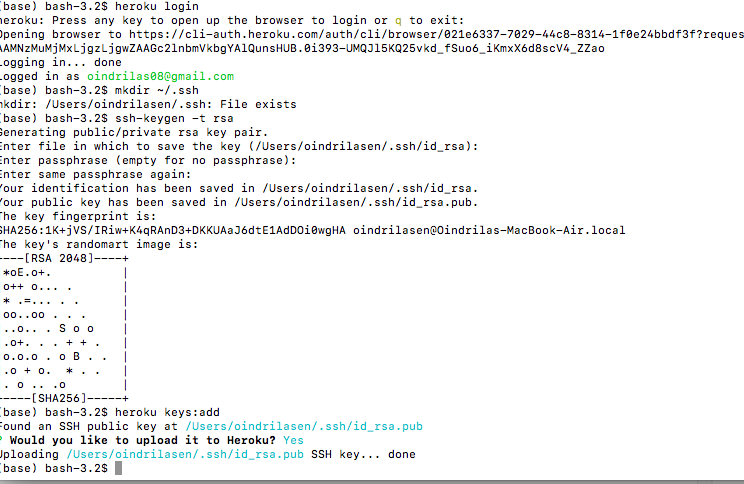
Check your account on Heroku and see if you can see your registered SSH keys. Apparently, once your keys are in place, you are all set to deploy any app you want.

Create a new Git Repository
I have created a folder and have put all my files, related to that app in that folder. Go to the directory and initialize it.
cd /Users/oindrilasen/Desktop/Github/sentiment-analysis-heroku-appgit initheroku git:remote -a twitter-sentiments-analysisCreate Virtual Environment
In our project directory, we will create a virtual environment with the below command.
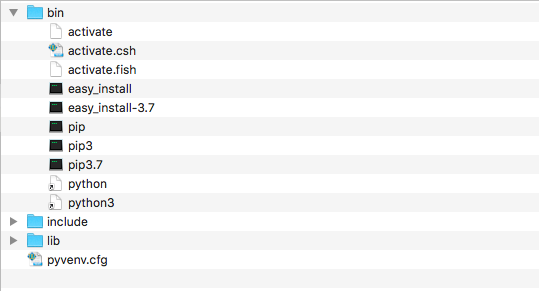
python -m venv venv/The above command will create the following directory structure:
Activale the virtual environment with below command:
source venv/bin/activateInstall flask and gunicorn
Then, let’s install the libraries we’re going to use
flaskto build the app and
gunicornas our server:
pip install flask gunicorn Create requirements.txt
We need to create a file with the libraries and the version that the application is using. To create the file, we will use the below command:
pip freeze > requirements.txtA requirements.txt file is created with the below libraries:
click==7.1.2
Flask==1.1.2
gunicorn==20.0.4
itsdangerous==1.1.0
Jinja2==2.11.2
MarkupSafe==1.1.1
Werkzeug==1.0.1
Create runtime.txt
Create another file with the python version you are using. So I created with and just added the version “python-3.7.1“.
Create Procfile
To successfully deploy an application on Heroku, we must create a procfile and add the below text.
web: gunicorn app:app –log-file=-
Now, we are all set to deploy our Python application on heroku. Here goes the final step:
Commit your code to the repository and deploy it to Heroku using Git
I followed the instructions in the deploy section and ran the below code.
$ git add .
$ git commit -am "initial commit"
$ git push heroku master
But I got an error. My code was not uploaded.
error: src refspec master does not match any.
So, after a few googling, I tried the below code and it started writing the objects on Heroku.
git push heroku HEAD:masterOnce, it is done writing all the objects, it will be shown that the app has been Deployed.
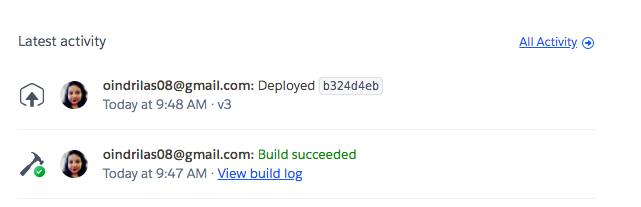
Now, you must be excited to run your app on Heroku? Well, I was! But Nope, I got another error.

After banging my head for some time and reading numerous blogs, I can share what worked for my scenario. We need to add all the libraries used for the application and the corresponding versions on the Requirements.txt file. Modify the requirements.txt and run the below commands again.
$ git add .
$ git commit -am "make it work"
$ git push heroku HEAD:master
Well finally, my heroku app worked! I hope it work out for you too!
Thank You!
0